
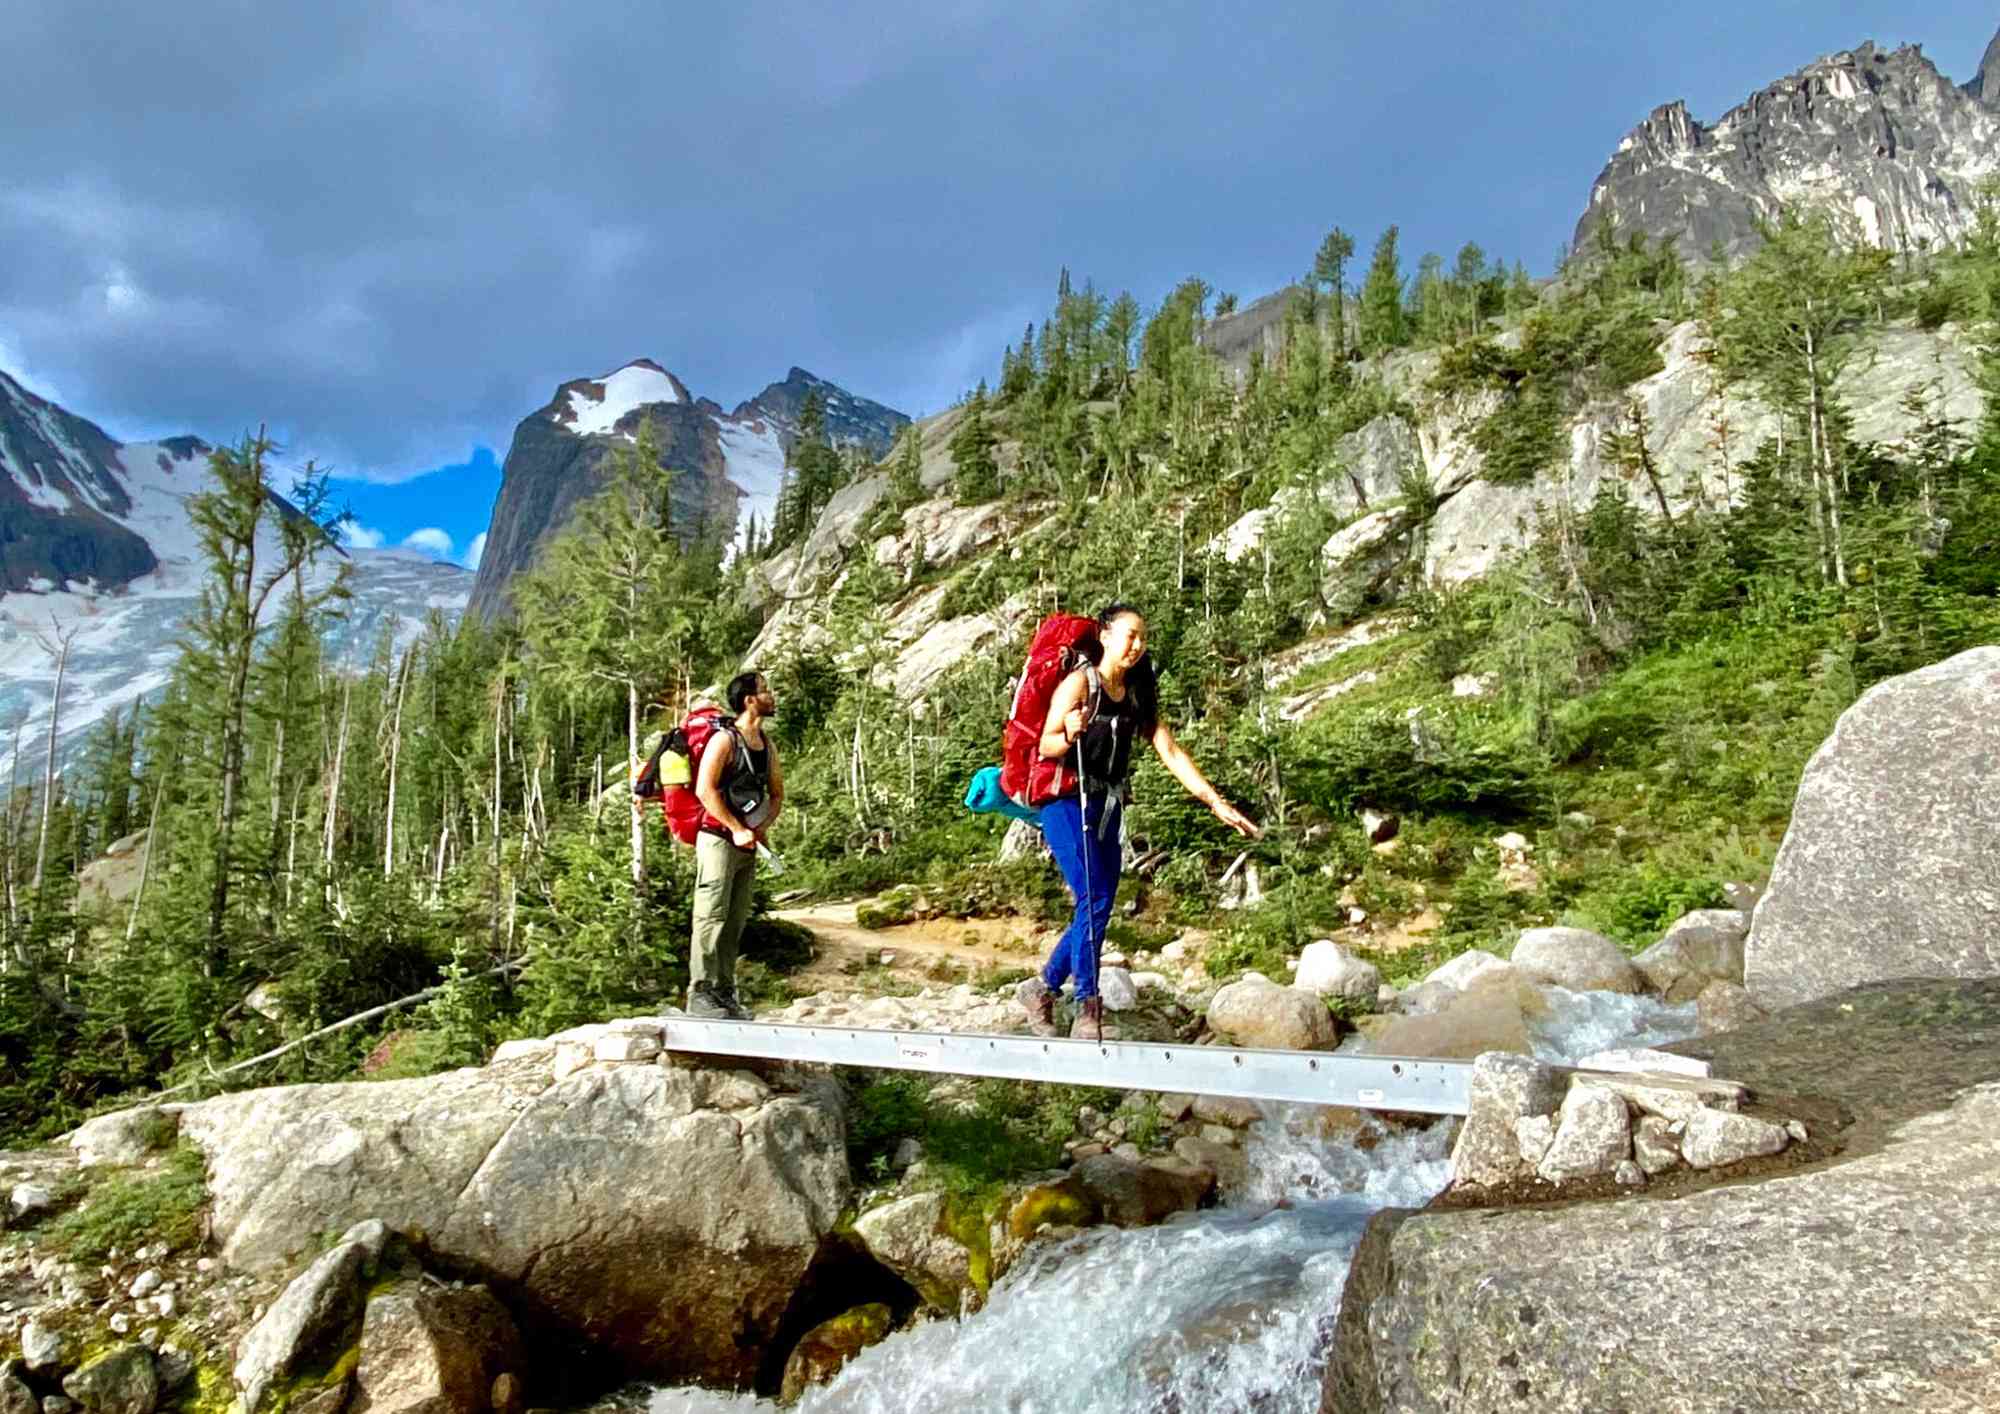
Ultimate 7-Day Bush Adventure Packing Guide
Straight from the backcountry of Canada – a no-nonsense guide for packing smart when the weather is as unpredictable as our great outdoors.
1. Preparation: Plan, Sort, and Visualize
Before you even think about slinging on your pack and heading out, take a moment to get organized—trust me, your back and your sanity will thank you. Over my years hiking through the Rockies, boreal forests, and the sometimes soggy trails of coastal BC, I’ve learned that preparation is key.
- Create a Checklist: Write down every piece of gear you’ll need for a full week in the Canadian wilderness. Include your shelter, a warm and reliable sleeping system, cooking equipment, layers for rain, snow, or shine, food, water, first aid, navigation tools, and those little extras that keep you comfortable in the wild.
- Lay Everything Out: Clear a space—your kitchen table or garage works fine—and spread your gear out. Seeing it all in one place helps you avoid overpacking and lets you group similar items together.
- Sort by Usage and Weight: Divide your gear into categories: items only needed at camp (like your sleeping bag and pad), heavy gear (food, stove, etc.), and essentials you’ll need throughout the day (like your rain jacket or first aid kit). This is the first step to achieving a balanced load when the weather turns.
2. The Three-Zone Packing Strategy
Divide your pack into three distinct zones. This system not only helps keep your weight centered—which is vital when facing sudden Canadian downpours or a surprise dusting of snow—but also makes sure that when you need something quickly, you’re not rifling through a chaotic mess.
Zone 1: Bottom of Pack – “Camp-Only” Items
- Sleeping System:
- Sleeping Bag: Compress your sleeping bag in its sack (or roll it tightly) and stash it in the bottom compartment. In the Canadian backcountry, a warm, dependable sleeping bag is non-negotiable when temperatures drop unexpectedly.
- Sleeping Pad & Pillow: Roll or neatly fold your sleeping pad and pack it alongside or on top of the sleeping bag. A good pad insulates you from the cold ground and makes those rough nights more bearable.
- Extra Camp Clothing & Base Layers: Roll up extra layers—think moisture-wicking base layers and insulating fleeces—and pack them in a small sack or cube to fill in any gaps.
Zone 2: Middle of Pack – Heavy, Dense Gear
- Cooking Gear & Stove:
- Wrap your camping stove in an old shirt or soft cloth to protect it, then pack it upright near your back so its weight stays centered.
- Place fuel canisters, pots, and utensils in a dedicated cube or bag right next to the stove. In Canada’s rugged conditions, reliable cooking gear is a must.
- Food Supplies & Optional Bear Canister:
- Organize your meals, snacks, and food storage in a waterproof bag or cube and position it centrally. If you’re in bear country, secure your food in a canister or bear bag, cushioning it with soft gear to stop it from bouncing around.
- Water Containers:
- If you’re not using a hydration bladder, pack extra water bottles near your back to keep the load balanced—a key consideration on long treks or when streams are your only refill point.
Zone 3: Top of Pack – Frequently Accessed Items
- Rain Jacket & Lightweight Outerwear:
- Canada’s weather can turn on a dime. Keep your rain jacket (and rain pants, if needed) in the top compartment for immediate access when the skies open up.
- First-Aid Kit, Navigation, and Electronics:
- Store your first-aid kit, map, compass, and headlamp in a small, secure pouch or in the top “brain” pocket so you can grab them quickly when needed.
- Daytime Essentials:
- Place trail snacks, a water filter, and a compact toiletry kit in top or side pockets for easy access as you traverse the backcountry.
3. Step-by-Step Packing Instructions
- Prepare Your Backpack:
Adjust all compartments and make sure your suspension system (shoulder straps, hip belt, sternum strap) is ready to go. If your pack isn’t waterproof, line it with a lightweight bag liner—especially handy when those Canadian rains hit.
- Load the Bottom Zone:
- Sleeping Bag: Compress and roll your sleeping bag, then slide it into the bottom compartment or its dedicated pocket. When the temperature plummets unexpectedly, you’ll be glad it’s right there.
- Sleeping Pad and Pillow: Roll or neatly fold your sleeping pad and place it on top or beside the sleeping bag. Pack your pillow similarly if there’s room.
- Extra Clothing: Roll up your extra camp clothes and base layers, and pack them in a cube or sack to fill any gaps.
- Pack the Middle Zone:
- Cooking Gear: Wrap your stove in soft fabric and pack it upright near your back. Add fuel canisters and utensils in a dedicated cube right next to it.
- Food Supplies: Organize your meals and snacks in a waterproof bag or cube, placing them centrally to maintain balance.
- Water Containers: Secure extra water bottles close to your back so they won’t shift during a steep ascent or a sudden downpour.
- Arrange the Top Zone:
- Day-Use Items: Place your rain jacket and lightweight outerwear in the top compartment for immediate access when the weather turns.
- First-Aid and Navigation: Use a small pouch for your first-aid kit, map, compass, and headlamp—keep these items where you can grab them without fuss.
- Snacks and Toiletries: Fill top or side pockets with trail snacks, a water filter, and a compact toiletry kit.
- Use External Pockets and Attachment Points:
Utilize side pockets for water bottles, hip belt pockets for quick-grab items like energy bars or bug spray, and daisy chains or loops to secure extra gear (like trekking poles or even a lightweight tent if space is tight). Make sure every attachment is firm.
- Secure Your Load and Final Adjustments:
Tighten all external compression straps to keep everything in place. Adjust your shoulder straps, hip belt, and sternum strap so the heavy core sits snugly against your mid-back. Give your pack a test run—if anything bounces or feels off, readjust until it feels natural.
4. Wearing Your Pack: Tips to Prevent Problems
- Shoulder Straps: Ensure they’re padded and adjusted so they sit comfortably without digging in. Your shoulders should carry the load evenly.
- Hip Belt: The hip belt is key—it transfers most of your pack’s weight to your hips. It should be snug around your waist, as this is crucial when trekking through muddy trails or climbing snowy slopes.
- Sternum Strap: Adjust the sternum strap to keep the shoulder straps in place and prevent them from sliding off during a brisk hike.
- Keep It Close: Your pack’s heavy items should stay close to your body. It should feel like a natural extension of your torso rather than a swinging burden.
- Practice and Adjust: Take a few practice hikes with your fully loaded pack. This real-world test lets you fine-tune the fit and ensures you’re comfortable for the long haul.
5. Common Mistakes and How to Avoid Them
- Overpacking: Stick to your checklist and embrace the “you ain’t gonna need it” philosophy. Every extra item adds unnecessary weight.
- Improper Weight Distribution: Avoid lumping heavy items at the top or front. Keep them centralized where your back naturally supports them.
- Neglecting Accessibility: Organize your gear so that frequently needed items aren’t buried deep in your pack. When you need your rain jacket or first-aid kit in a sudden storm, they should be right at hand.
- Wearing the Pack Incorrectly: Failing to adjust your straps properly can lead to back pain and shoulder strain. Always test and readjust before setting off on a long trek.
- Not Securing Loose Items: Loose gear can shift and cause discomfort. Use every available strap and pocket to keep everything in place.
6. Additional Considerations for Canadian Conditions
- Weather Variability: In Canada, you might face rain, snow, or even sleet—sometimes all in one day. Always pack extra waterproof layers and a packable poncho or tarp for added protection.
- Waterproofing Your Gear: Protect electronics, maps, and important documents by storing them in waterproof pouches or dry bags. A lined pack can be a lifesaver in a heavy downpour.
- Bear and Wildlife Safety: In many parts of Canada, bear encounters are a reality. Use bear canisters or properly hang your food away from your sleeping area. Don’t forget to pack a bear spray if you’re in high-risk areas.
- Insulation for Cold Nights: Even in summer, Canadian nights can get cold. Ensure your sleeping bag is rated for low temperatures, and pack extra insulating layers in case the temperature drops unexpectedly.
- Footwear and Extras: While this guide focuses on what goes in your pack, remember to wear sturdy, waterproof boots and consider gaiters for snowy or muddy conditions. Extra socks in a waterproof bag can make a huge difference.
- Navigation and Emergency Gear: Along with your map and compass, consider carrying a personal locator beacon (PLB) and extra batteries for electronic devices. Canadian backcountry areas can be remote and weather can shift quickly.
7. Final Thoughts
After years of trekking through Canada’s backcountry—from the damp trails of the Pacific Northwest to the snowy passes of the Rockies—I can tell you that proper packing is an art that can make or break your adventure. With careful planning, organization, and a few practice runs, your pack will feel like it was custom-built for you. Dividing your gear into zones, securing every item, and ensuring a snug, balanced fit are key to a safe, comfortable, and truly unforgettable journey.
Pack smart, stay flexible, and remember: the Canadian wilderness is as unforgiving as it is beautiful.
Author

Josh
Die-hard hiker with a passion for travel.